Request Identity Document Verification in browser
Source code for this example
https://github.com/trinsic-id/sdk/tree/main/examples/idv-browser
Overview
In this example we'll setup a basic webpage and configure it to initiate an identity verification of a government identity document using Trinsic Connect.
We will also configure a backend API that will set up the integration with the SDK and handle the creation and retrieval of the identity verification session (IDV session).
Let's take a look at the data flow between the different actors and components in a usual IDV verification with Trinsic Connect:
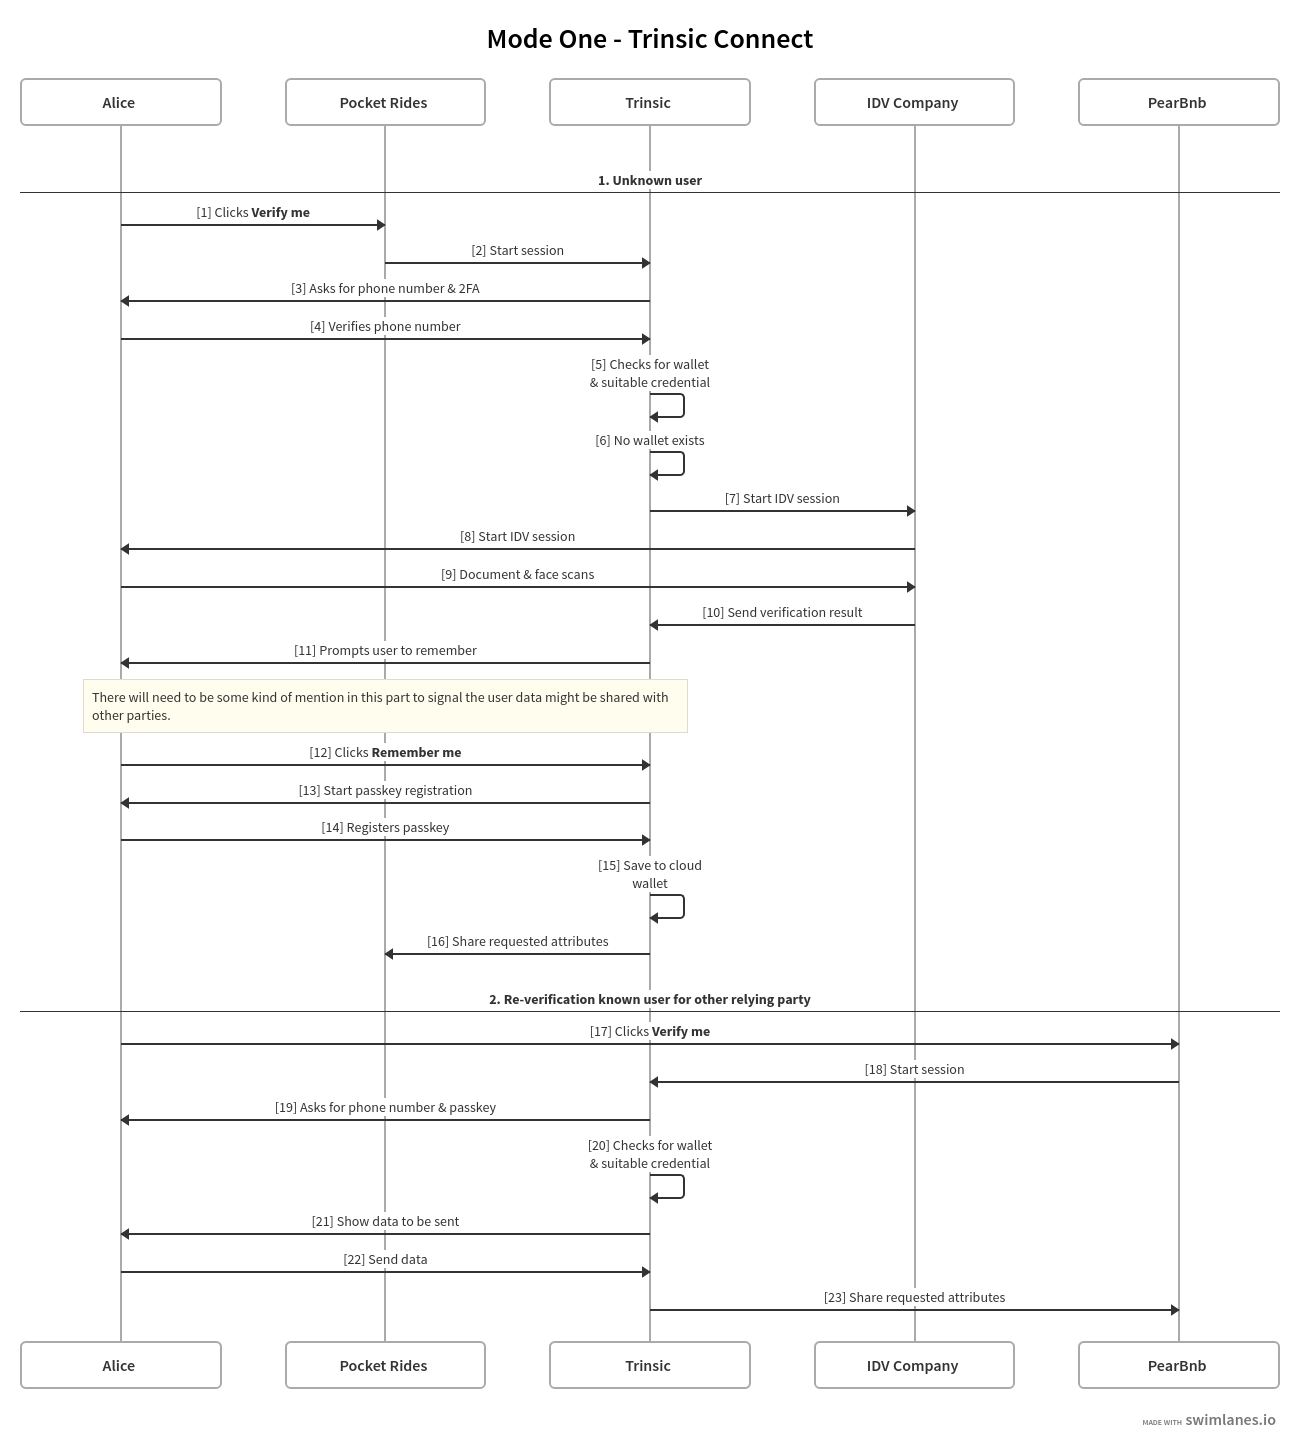
Typical Flow
A typical Trinsic Connect flow generally goes as follows:
- Create a verification session using the
CreateSessionSDK call- Store the session
idsomewhere in your backend; this will be used to reference the session in further SDK calls
- Store the session
- Send the
client_tokenyou received in the response toCreateSessionto your frontend - Begin the flow on your frontend by calling the
identityVerification()method onConnectClient, passing theclient_tokenas an argument- This method returns a promise that will resolve when the flow is completed
- Await the promise returned by
identityVerification() - Ping your backend to trigger it to process the verification results
- Fetch the session using the
GetSessionSDK call from your backend, and process the results
If the flow is successful, the session's state will be IDV_SUCCESS, and the resultant identity data will be available in two forms:
- In the
result_vpfield of thesession- This is a Verifiable Presentation , and is cryptographically verifiable.
- In the
normalized_government_id_datafield of theverificationwithin thesession- This is a strongly-typed representation of the data in
result_vp, but it is not in the form of a Verifiable Presentation.
- This is a strongly-typed representation of the data in
If the flow is unsucessful, the session's state will be IDV_FAILED, and the reason for failure will be present in the session.fail_code field.
Setup our demo
Let's create a new npm project:
npm init -y
Add our dependencies:
npm install express @trinsic/trinsic
Create new file named index.js at the root of the repo and configure the services.
import express from "express";
import path from "path";
import { TrinsicService, VerificationType } from "@trinsic/trinsic";

const app = express();
app.use(express.json());

const trinsic = new TrinsicService({
    authToken: "<AUTH_TOKEN>",
});
How to obtain an Auth Token
Assuming you are part of the Trinsic Connect beta, you can obtain auth token from the Trinsic Studio .
Create IDV Session API
Let's configure Express to create two endpoints for creating a new IDV session (served at /api/create-session) and retrieving an IDV session (served at /api/get-session). We'll use Trinsic's SDK to generate the IDV session for a government document verification and then retrieve it to read its results.
app.post("/api/create-session", async (req, res) => {
    const verifyResponse = await trinsic.connection().createSession({
        verifications: [{ type: VerificationType.GOVERNMENT_ID }],
    });

    res.json(verifyResponse.session);
});

app.post("/api/get-session", async (req, res) => {
    var response = await trinsic.connection().getSession({
        idvSessionId: req.body.idvSessionId,
    });

    req.json(response);
});
Add the rest of the express configuration where we will serve static files and run the server at a port of your choice.
// Serve static files from the 'public' folder
app.use(express.static(process.cwd()));

// Catch-all to return index.html for any other request
app.get("*", (req, res) => {
    res.sendFile(path.join(process.cwd(), "index.html"));
});

// Start the server
const PORT = process.env.PORT || 3000;
app.listen(PORT, () => {
    console.log(`Server is running on port ${PORT}`);
    console.log(`Access the demo page at http://localhost:${PORT}`);
});
Example web page
Create a new file named index.html at the root of the repo and reference Trinsic's SDK.
<script src="https://unpkg.com/@trinsic/[email protected]/dist/trinsic.min.js"></script>
Let's add additional script to register a button click event that will start the process of identity verification with Trinsic Connect.
<button id="verifyButton" class="btn btn-primary">Start Verification</button>

<script>
    // initialize the credential handler polyfill when the page loads

    document.getElementById("verifyButton").addEventListener("click", async () => {
            const { ConnectClient } = trinsic;
            const client = new ConnectClient();

            // 1. Get a valid session from the backend
            const createResponse = await fetch("/api/create-session", {
                method: "POST",
            });
            const session = await createResponse.json();

            console.log(session);

            // 2. Perform identity verification
            const idvResponse = await client.identityVerification(
                session.clientToken
            );

            console.log(await idvResponse.json());

            // 3. Check the verification status
            const getResponse = await fetch("/api/get-session", {
                method: "POST",
                headers: { "Content-Type": "application/json" },
                body: JSON.stringify({ sessionId: session.id }),
            });
            const idvResult = await getResponse.json();

            console.log(idvResult);
        });
</script>
Run the demo
Run the demo by executing the following command in the terminal
node index.js
The project should run and be accessible at http://localhost:3000 .
Enjoy! 👋