Issue and exchange using CHAPI
Source code for this example
https://github.com/trinsic-id/sdk/tree/main/examples/issue-send-chapi
Overview
This example uses a backend API to issue a verifiable credential and deliver the credential to the user's wallet using the Credential Handler API (abbr. CHAPI - see W3C specification). The CHAPI protocol allows digital wallets to receive Verifiable Credentials from an independent third-party issuer - or present Verifiable Credentials to an independent third-party verifier - in a way that establishes trust and preserves privacy. See our issuance guide for more details about using CHAPI and its benefits.
Let's take a look at the breakdown of interactions between the different actors and components in this scenario:
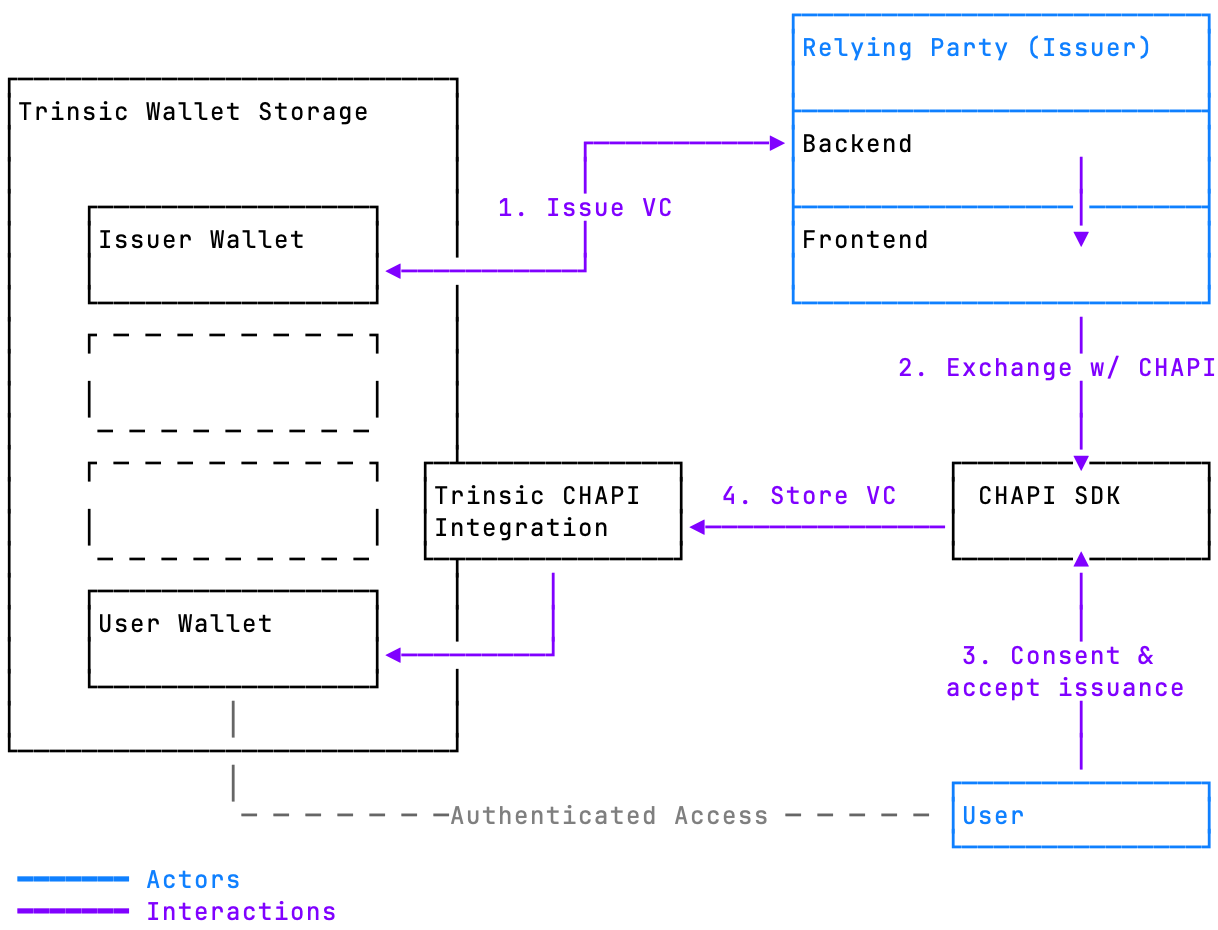
In this guide, we will go through the process of setting up an example API endpoint, and a simple web page that consumes this enpoint and invokes CHAPI in the browser.
Install dependencies
We will use Express to create a simple API and also install Trinsic's SDK.
npm install express @trinsic/trinsic
Import and configure services
import express from 'express';
import path from 'path';
import { SignatureType, TrinsicService } from "@trinsic/trinsic";

const app = express();

const trinsic = new TrinsicService({
    authToken: "<AUTH_TOKEN>",
});
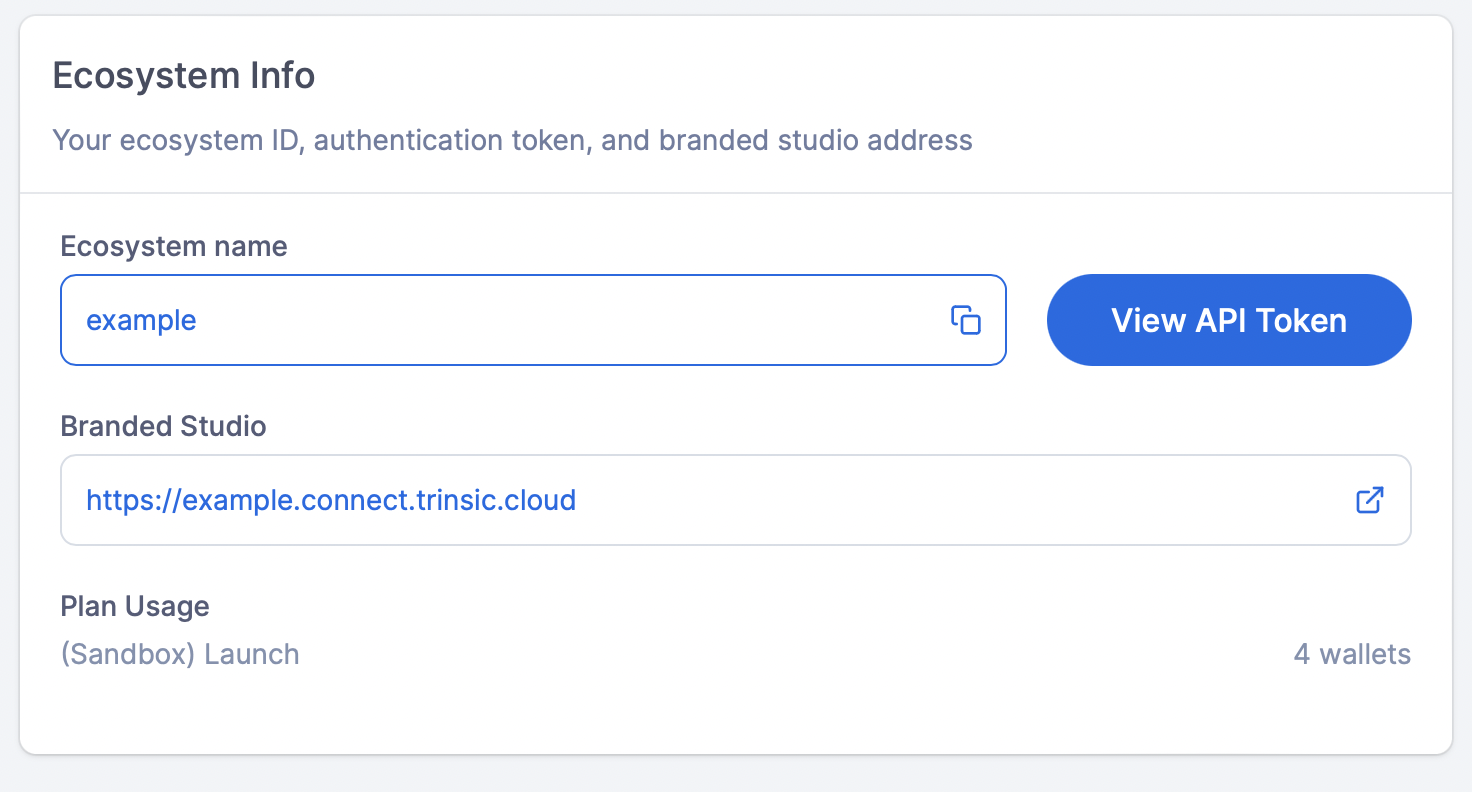
How to obtain an Auth Token
You can obtain auth token from the Dashboard by clicking on the View Auth Token in the Home page.
Create Issue Credential API
Let's configure Express to create an endpoint for issuance served at /api/issue. Next, we'll use Trinsic's SDK to issue a credential from a template
and return the issued document as a respoinse to the API call. We will use the same template from the previous example and we'll only send few attributes.
app.get('/api/issue', async (req, res) => {

    const issueResponse = await trinsic.credential().issueFromTemplate({
        templateId: "https://schema.trinsic.cloud/example/id-document",
        valuesJson: JSON.stringify({
            firstName: "John",
            lastName: "Dough",
            dateOfBirth: "1990-07-03T10:12:00Z",
        }),
        signatureType: SignatureType.STANDARD,
        includeGovernance: false,
    });

  res.json(JSON.parse(issueResponse.documentJson));
});
Serve static files
Let's also create a catch-all endpoint that will serve static content. We'll use this to serve a simple HTML page to showcase the use of CHAPI in a browser.
// Serve static files from the 'public' folder
app.use(express.static(path.join(process.cwd())));

// Catch-all to return index.html for any other request
app.get('*', (req, res) => {
  res.sendFile(path.join(process.cwd(), 'index.html'));
});
Example web page
Let's create an example web page index.html, reference and initialize the Credential Handler polyfill.
    <script src="https://unpkg.com/credential-handler-polyfill@3/dist/credential-handler-polyfill.min.js"></script>

    <script>
      // initialize the credential handler polyfill when the page loads
      window.addEventListener("load", async () => {
        await credentialHandlerPolyfill.loadOnce();
      });
    </script>
Next, we'll attach an event to a button, call our API and pass the result to the CHAPI library using the navigator.credentials.store() function.
<button id="issueButton">Issue Credential</button>

<script>
    document.getElementById("issueButton").addEventListener("click", async () => {
        // 1. call API to issue credential
        const response = await fetch("/api/issue");
        const data = await response.json();

        // 2. wrap the credential in an unsigned VerifiablePresentation
        const presentation = {
            "@context": ["https://www.w3.org/2018/credentials/v1"],
            type: "VerifiablePresentation",
            verifiableCredential: [data],
        };

        // 3. configure the request and recommended origins
        const webCredential = new WebCredential("VerifiablePresentation", presentation, {
            recommendedHandlerOrigins: ["https://example.connect.trinsic.cloud/"],
        });

        // 4. invoke CHAPI to store the credential
        const result = await navigator.credentials.store(webCredential);
    });
</script>
Configure recommended wallet
Make sure to update the recommendedHandlerOrigins property to match your ecosystem, so that users will be offered to use your ecosysystem as digital wallet, although they can choose to use any wallet that supports CHAPI.
Run the demo
Simlpy run node index.js and access the page at your configured port (example at http://localhost:3000)
Enjoy! 👋