Request Verifiable Credential using OIDC
Source code for this example
https://github.com/trinsic-id/sdk/tree/main/examples/verify-cred-oidc
Overview
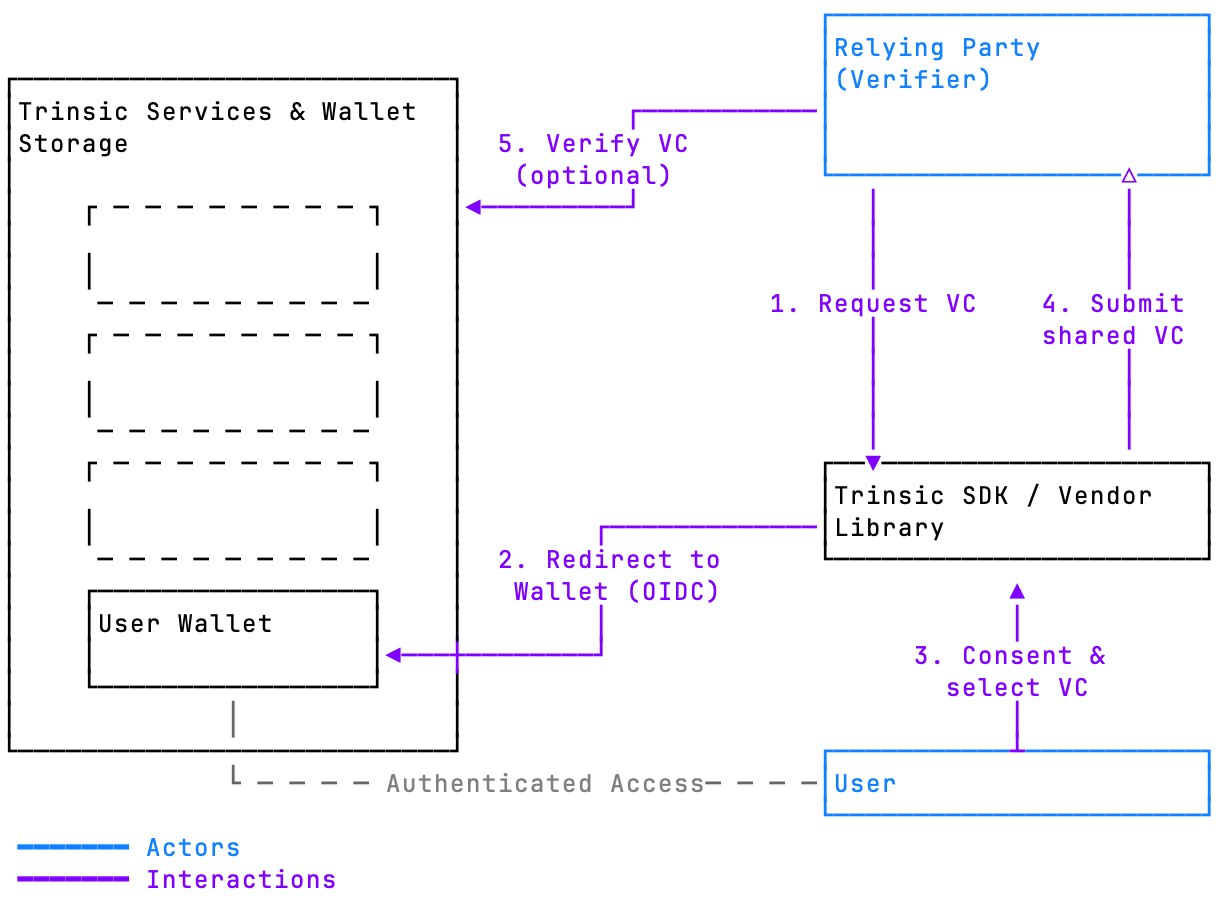
In this example we'll setup a basic webpage and configure it to request a Verifiable Credential using OIDC protocol in a popup window. You can also configure OIDC using a browser redirect or embedded iframe, but this is beyond the scope of this example. We will also configure a backend API that will take the shared credential from the client and verify it using Trinsic's API. This step is optional, you can use any third-party service to verify the validity of the credential since these credentials are globally verifiable.
Let's take a look at the breakdown of interactions between the different actors and components in this scenario:
Setup our demo
Let's create a new npm project:
npm init
Add our dependencies:
npm install express @trinsic/trinsic
Import and configure services
Create new file named index.js at the root of the repo and configure the services.
import express from 'express';
import { TrinsicService } from "@trinsic/trinsic";

const app = express();
app.use(express.json());

const trinsic = new TrinsicService({
    authToken: "<AUTH_TOKEN>",
});
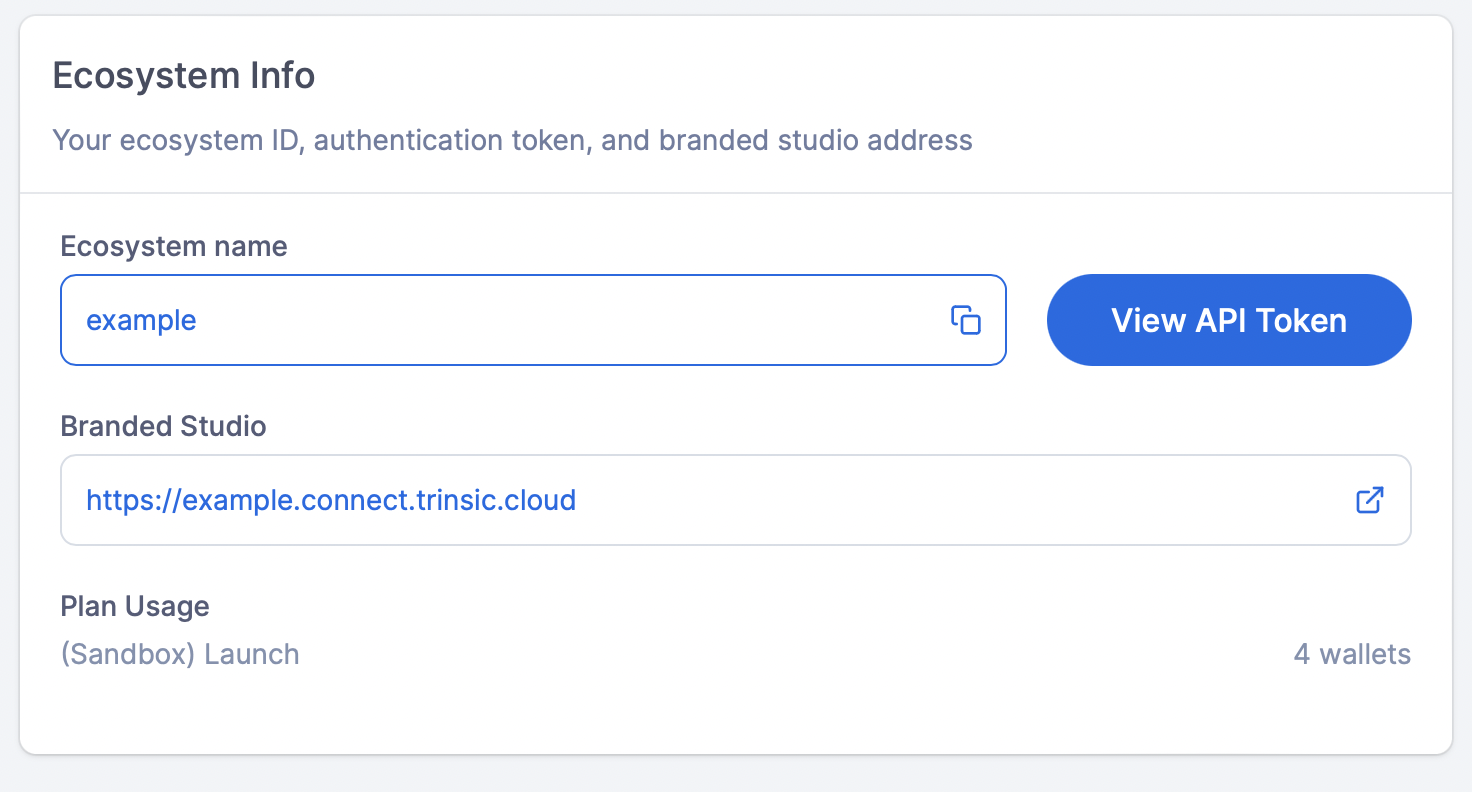
How to obtain an Auth Token
You can obtain auth token from the Dashboard by clicking on the View Auth Token in the Home page.
Create Verify Credential API
Let's configure Express to create an endpoint for verification served at /api/verify. Next, we'll use Trinsic's SDK to verify the credential from the request body and return the verification result as a respoinse to the API call.
app.post('/api/verify', async (req, res) => {

    const verificationResponse = await trinsic.credential().verifyProof({
        proofDocumentJson: JSON.stringify(req.body),
    });

    res.send(verificationResponse);
});
Add the rest of the express configuration where we will serve static files and run the server at a port of your choice.
// Serve static files from the 'public' folder
app.use(express.static(process.cwd()));

// Catch-all to return index.html for any other request
app.get('*', (req, res) => {
  res.sendFile(path.join(process.cwd(), 'index.html'));
});

// Start the server
const PORT = process.env.PORT || 3000;
app.listen(PORT, () => {
  console.log(`Server is running on port ${PORT}`);
  console.log(`Access the demo page at http://localhost:${PORT}`);
});
Example web page
Create a new file named index.html at the root of the repo and reference Trinsic's SDK.
<script src="https://unpkg.com/@trinsic/[email protected]/dist/trinsic.min.js"></script>
Let's add additional script to register a button click event that will start the process of requesting a Verifiable Credential from the holder.
Make sure to edit the ecosystem and schema to match the ecosystem and schema you would like to request.
<button id="verifyButton">Request Verifiable Credential</button>

<script>
    const { ConnectClient } = trinsic;
    const client = new ConnectClient();

    document.getElementById("verifyButton").addEventListener("click", async () => {
        const presentationResponse = await client.requestVerifiableCredential({
            ecosystem: "did-hack",
            schema: "https://schema.trinsic.cloud/did-hack/attendance-credential",
        });

        console.log(presentationResponse);

        // call API to verify credential
        const response = await fetch("/api/verify", {
            method: "POST",
            headers: { "Content-Type": "application/json" },
            body: JSON.stringify(presentationResponse.vp_token),
        });
        const data = await response.json();

        console.log(data);
    });
</script>
Run the demo
Run the demo by executing the following command in the terminal
node index.js
The project should run and be accessible at http://localhost:3000 .
Enjoy! 👋