Getting Started with Trinsic
Step 0: Get Dashboard Access
To use Trinsic, you must be invited to your organization's account.
Click here to sign in: dashboard.trinsic.id
- If your organization already has a Trinsic account, reach out to your organization admin and ask them to invite you.
- If you’re not sure or need help getting access, contact us at [email protected] and we’ll help you get set up.
Once you can sign in successfully, you’re ready to continue.
Step 1: Understand Test vs Live Environments
Trinsic has two environments: Test and Live. API keys are scoped to environments, and each environment is used for different stages of development and rollout.
Test Environment
Use the Test environment to explore Trinsic and build your integration safely.
- Includes Trinsic-hosted mock providers
- Supports sandbox testing for providers with test mode
- Uses fake credentials
- No per-transaction costs
- Best for development, experimentation, and automated testing
Live Environment
The Live environment is used for real provider workflows, including demos and production.
- Supports real identity providers
- Can be used to:
- Demo real providers with real users
- Run limited pilot tests
- Launch full production traffic
- Uses real credentials
- Per-transaction costs apply
Most teams start in Test, then move to Live once they’re ready to demo real providers or go live in production. You can create multiple verification profiles in Live to separate demo and production use cases.
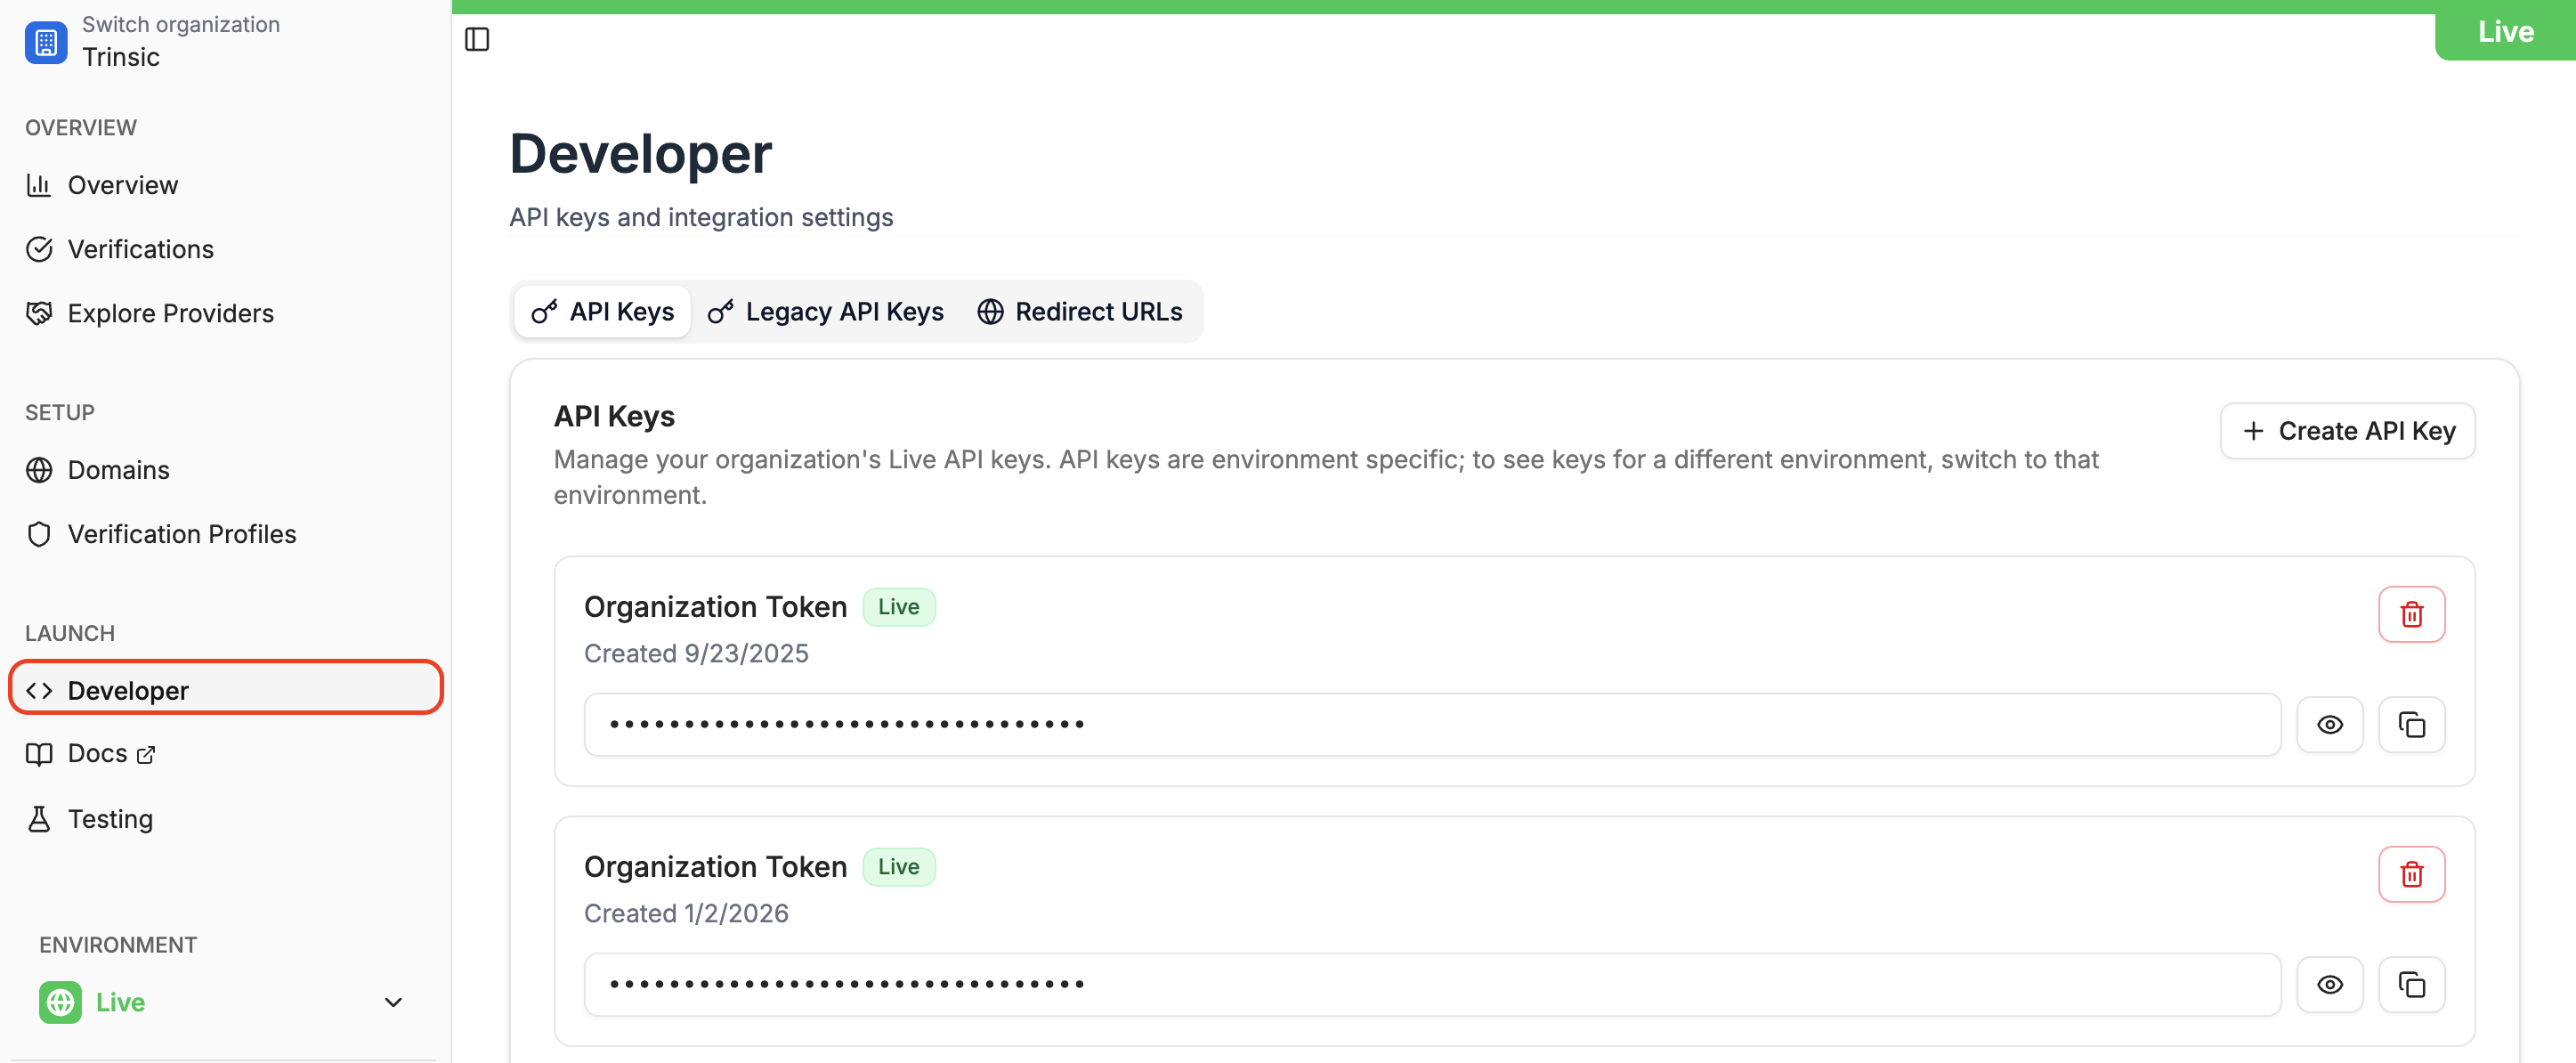
Step 2: Get Your API Key
Your API key authenticates requests from your application to Trinsic. To generate your first key:
- Sign in to the Trinsic Dashboard
- Switch to the Test environment using the environment switcher in the bottom-left
- Navigate to the Developers tab.
- Copy your Test API Key.
- Store it securely, you’ll use it to authenticate all API requests
Never expose your API key in client-side code or public repositories.
Step 3: Create a Verification Profile
Every verification in Trinsic runs through a Verification Profile. A verification profile is a reusable bundle of configuration, including:
- Which providers are enabled
- How long verification data is stored
- Branding and domain settings
- Security options like zero-access encryption
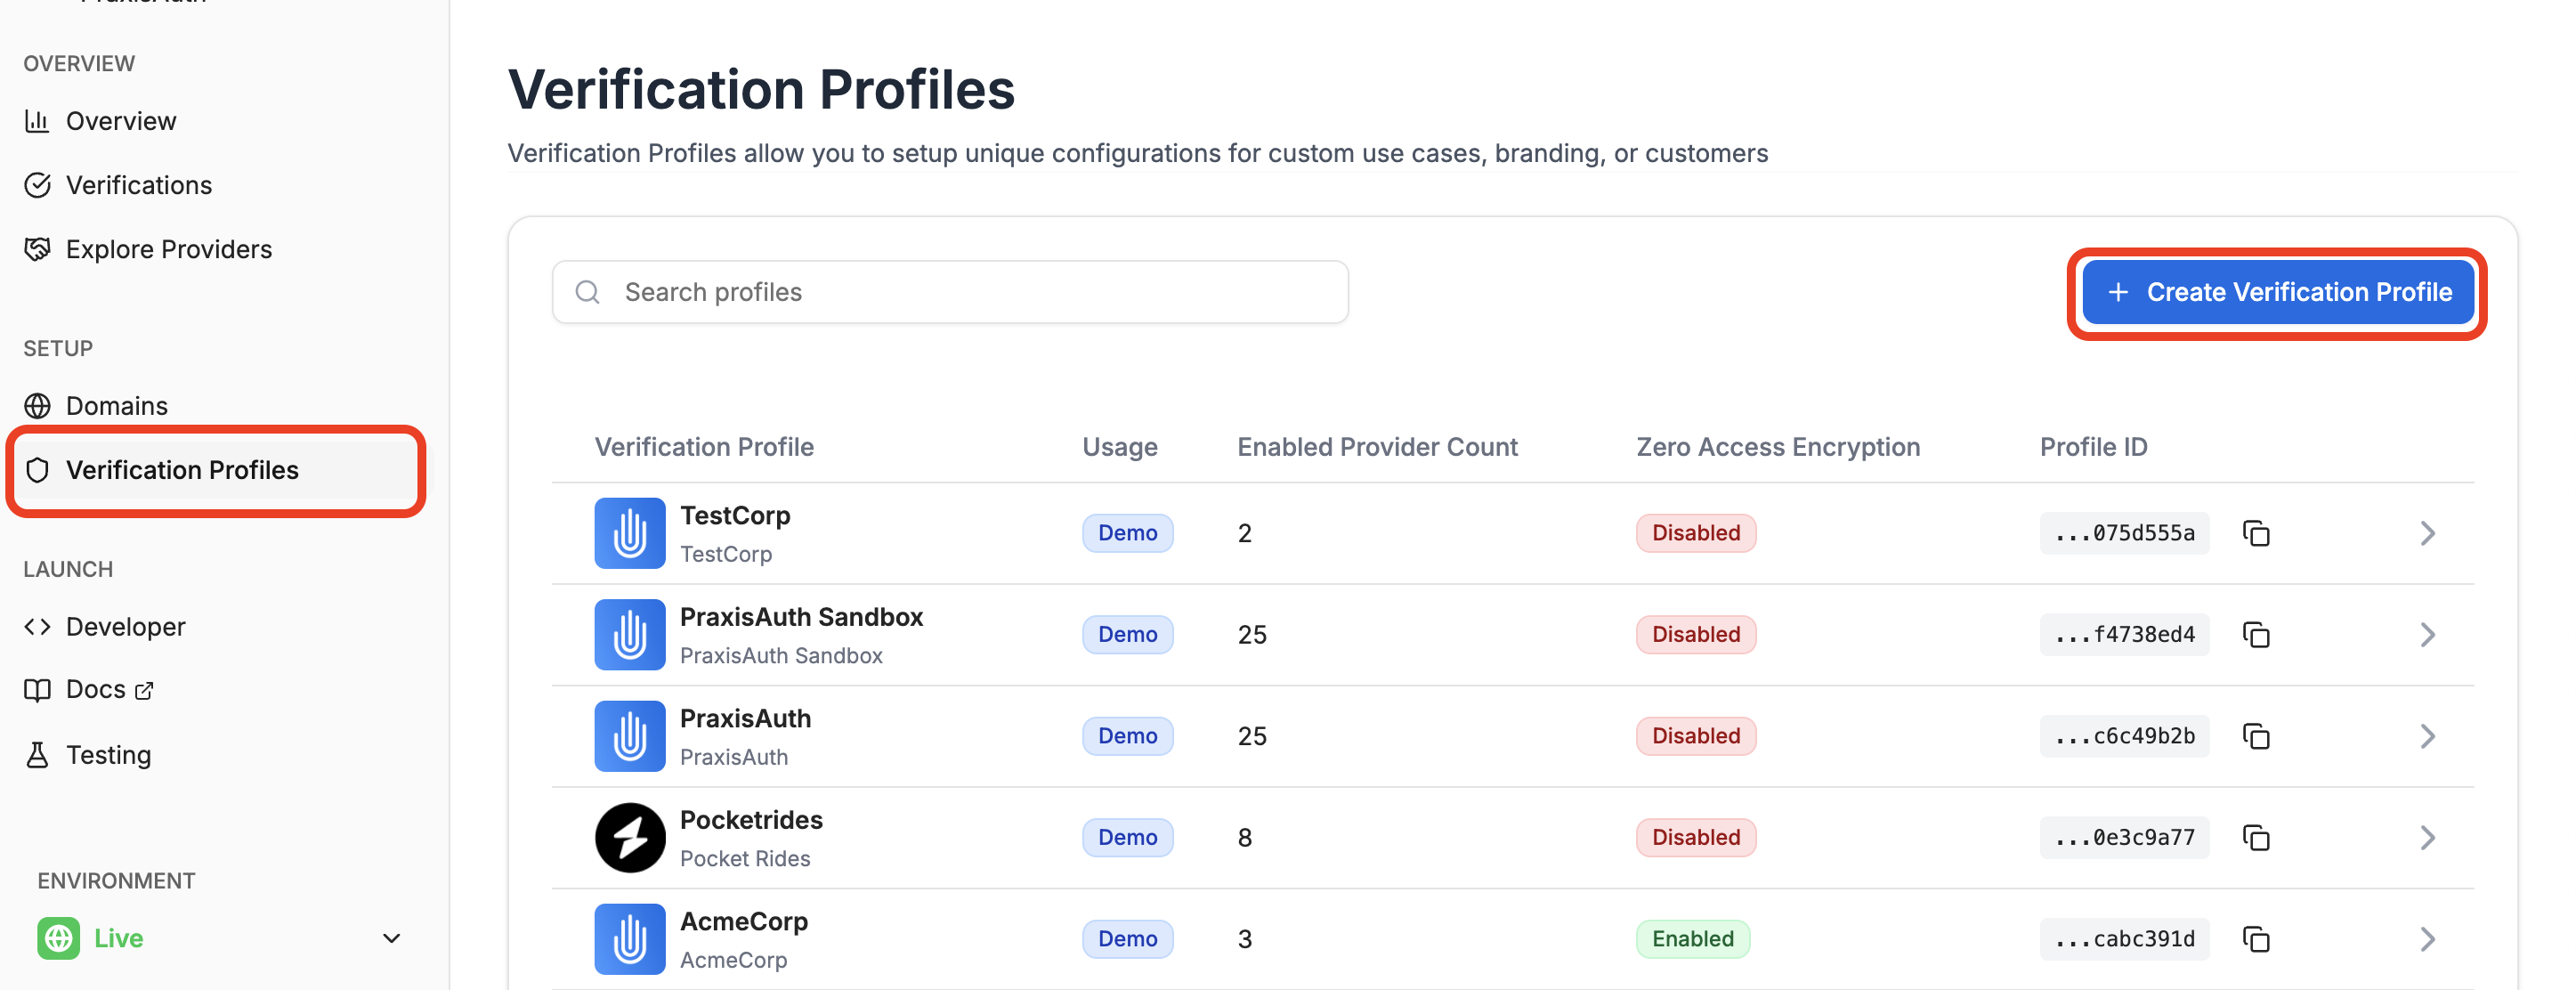
To create your first profile in the Test environment:
- Go to Verification Profiles in the Dashboard.
- Click Create Verification Profile.
- Configure the general settings:
- Profile alias: an internal name for this profile
- Domain: leave the default value for now
- Redaction period: how long verification data is retained
- Zero-access encryption: enable or disable based on your security needs
- Branding: the name, color, and logo shown to users during verification
- Click Next: Configure Providers.
- Select the providers you want to test.
- Click Add Providers to finish creating the profile.
- Copy the Verification Profile ID from the profile details page, you’ll need it when calling the API.
Once your profile is created, you’re ready to test a verification and start integrating.
Step 4: Perform a test verification in the Dashboard
The quickest way to validate your Verification Profile's configuration and explore the verification experience is to launch a verification via the Dashboard.
- On the details page for your Verification Profile, scroll down to the Verification Profile Providers table.
- Find the Provider for which you wish to launch a test verification.
- We recommend the
Mock - RedirectProvider.
- We recommend the
- Under the Actions column, click the three dots, then Launch Verification.
- Complete the verification in the newly-opened popup.
- Once done performing the verification, click View Session Results in your main browser window.
Step 5: Integrate
Congratulations! You now have everything you need to begin integrating Trinsic's SDK:
- An Organization.
- An API Key.
- A configured Verification Profile with a corresponding
verificationProfileId.
Updated 3 months ago
What's Next
At this point, you have dashboard access, an API key, and aconfigured verification profile
Next, continue to the Integration Guide to choose your session mode and begin integrating Trinsic into your application.